
Proper box organization and labeling can transform a chaotic moving day into a streamlined process. When your belongings are systematically packed and clearly marked, both you and your movers can work more efficiently, reducing the time and stress involved in your relocation. Here’s how to create a labeling system that (actually) works.
Start With a Room-by-Room Strategy
Pack and label boxes according to their destination room in your new home. This approach allows movers to place boxes directly where they belong, eliminating the need to shuffle heavy containers later.
Use clear, specific room names that everyone can understand. Instead of vague labels like “upstairs” or “storage,” write “master bedroom,” “kitchen,” or “basement office.” This precision helps movers place boxes correctly even when they’re unfamiliar with your home’s layout.
Consider creating a master list that matches room names between your old and new homes. If your current “guest room” will become the “home office,” note this clearly to avoid confusion on moving day.
Develop a Color-Coding System
Assign each room a specific color and use colored tape, markers, or stickers accordingly. This visual system allows movers to quickly identify where boxes belong, even from a distance or in poor lighting conditions.
Common color assignments might include blue for bedrooms, green for the kitchen, red for the living areas, and yellow for the bathrooms. Write your color code on a large sheet and post it prominently for everyone to reference.
Apply colored tape to multiple sides of each box, not just the top. Boxes often get stacked and rotated during transport, so visible markings on several sides ensure easy identification regardless of positioning.
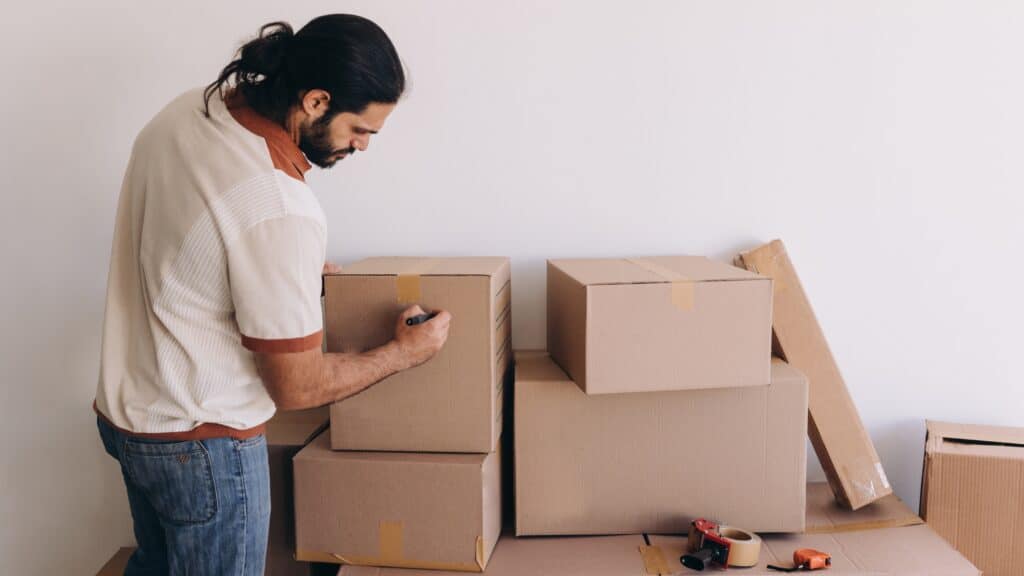
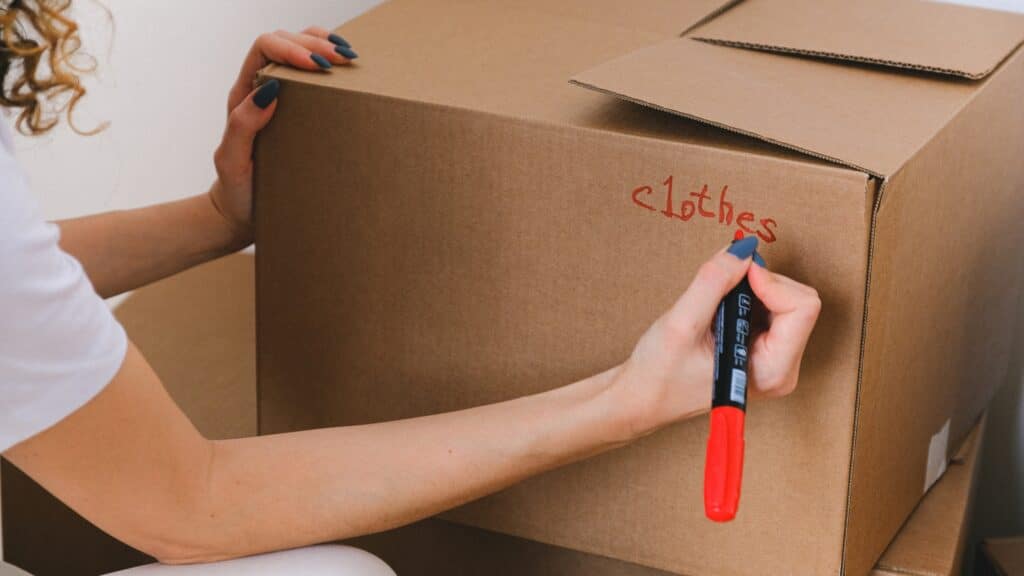
Write Detailed Contents Lists
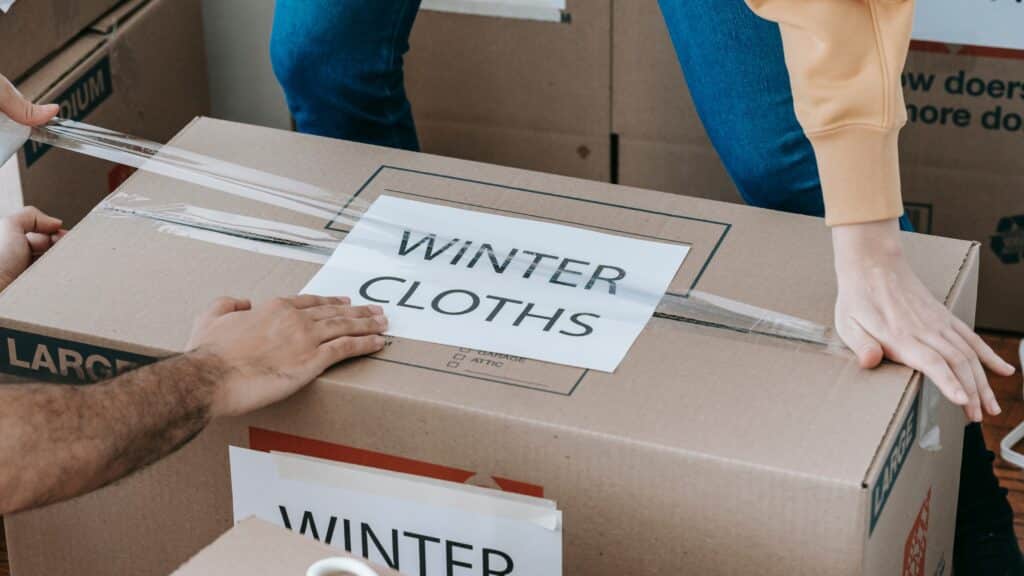
While it may take some extra time up front, including specific contents on your labels rather than generic descriptions will make moving day less of a hassle. Instead of “kitchen stuff,” write “pots, pans, cooking utensils.” This detail helps you locate specific items quickly when unpacking and identifies priority boxes for immediate attention.
List the most important or fragile items first on your labels. If a box contains both everyday dishes and fine china, lead with “fine china, everyday plates, bowls” so handlers know to exercise extra care.
Number your boxes and keep a master inventory list with detailed contents. This system proves invaluable if you need to locate something specific during the weeks following your move.
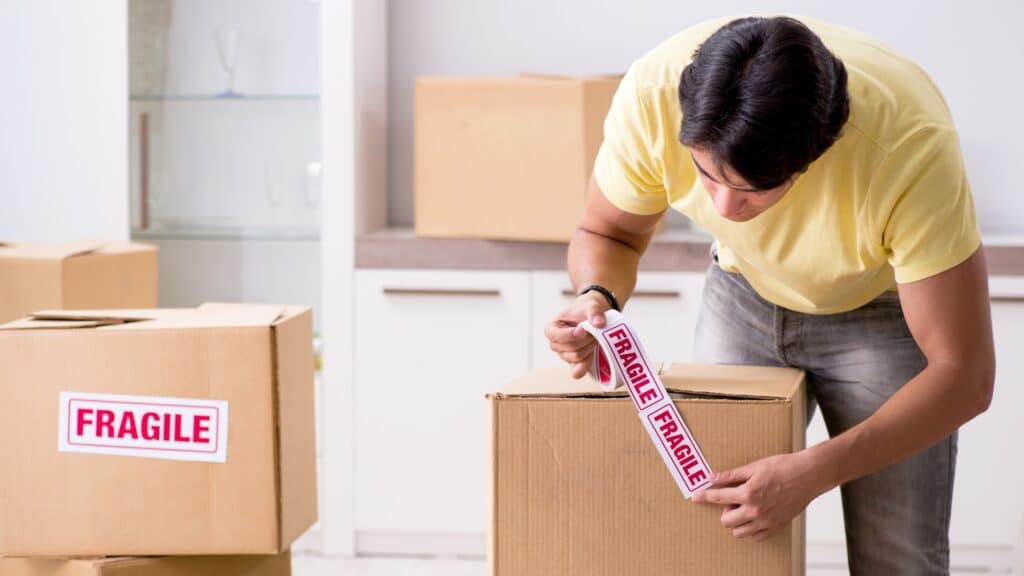
Mark Priority and Fragile Items Clearly
Designate specific boxes as “First Day Essentials” and mark them prominently. These containers should include items you’ll need immediately, such as toiletries, medications, phone chargers, essential tools, and a change of clothes.
Use bright, contrasting colors for labels of fragile items. Red “FRAGILE” stickers or tape stand out better than black text and catch attention quickly. Write “FRAGILE” on multiple sides of these boxes.
Consider using symbols alongside text for universal understanding. Arrows indicating “this side up” and wine glass symbols for fragile items communicate clearly even to movers who might not speak your language fluently.
Create Logical Loading Instructions
Label boxes with loading sequence information when appropriate. Mark items needed immediately upon arrival as “load last/unload first” to ensure easy access when you reach your destination.
Heavy items, such as books, should be packed in smaller boxes and clearly labeled with weight warnings. This protects both your belongings and the people moving them.
Indicate when boxes contain items that cannot be stored under certain conditions. Mark boxes containing electronics, artwork, or other temperature-sensitive items accordingly.
Use Durable Labeling Materials
Invest in quality labels that won’t peel off during transport. Waterproof labels or clear packing tape over written labels protect markings from moisture and handling.
Use permanent markers that won’t smudge or fade. Test your markers on a small piece of tape first to ensure the ink doesn’t run when it contacts adhesive.
Place labels on smooth surfaces rather than over box flaps or seams where they might tear or become illegible. The upper portion of the box sides typically provides the best labeling surface.
Implement a Simple Numbering System
Number each box sequentially and maintain a written inventory. This system helps track boxes during the move and makes it easy to identify if anything goes missing.
Include your contact information on boxes, especially for long-distance moves. If a box gets separated from the main shipment, this information helps reunite it with your belongings.
Consider photographing valuable or complex items before packing them. These photos can assist with insurance claims if needed and help you remember how electronic items were connected.
Make Moving Day Smoother for Everyone
Professional movers like Choice Moving Company work more efficiently when your boxes are properly organized and labeled. Clear markings reduce questions and confusion, allowing the crew to focus on safely transporting your belongings rather than deciphering unclear instructions.
Well-labeled boxes also make unpacking significantly easier. When you can quickly identify contents and destination rooms, you can prioritize which boxes to unpack first and where to focus your initial settling-in efforts.
Take a few extra minutes to label boxes thoroughly during packing. This small investment of time upfront pays dividends in reduced stress and increased efficiency throughout your entire moving process. Your future self will thank you when you’re settling into your new home with everything exactly where it belongs.


